***
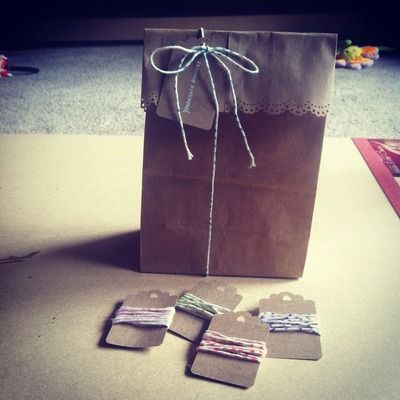
Hello Lovely readers of Along for the Ride! I am Mandi and I blog over at {Debonair Bandit}. I am a stay at home momma too two little girls {Chloe, 2 and Carli 8 months}. I have a wonderful husband whom I've shared my life with for almost 7 years. I am a full time student working on my accounting degree, and I love love creating and crafts. I am also CHEAP. Yes, I said it. If I love something, I will immediately try to figure out how I can make it myself, so I don't have to spend so much money to buy it else where. Today I will be sharing a tutorial for DIY bakers twine. I am opeing my own etsy shop {I hope you will visit Here when I open June 1st}, and I was thinking about how I was going to wrap my products before sending them out . Now I am obsessed with bakers twine, but spending $6 for so little twine, I decided that I could make my own. Here's how I did that.
{DIY Bakers Twine}
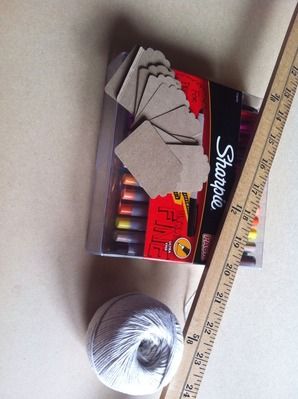
What you will need:
Strong string
Permanent markers in many colors
Ruler
{What you will need}
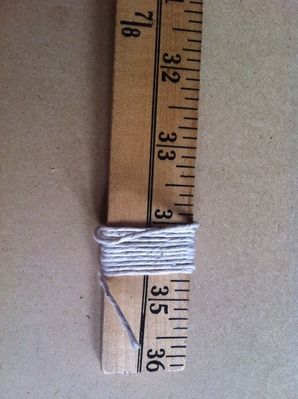
{First wrap the amount of string you want around the ruler}
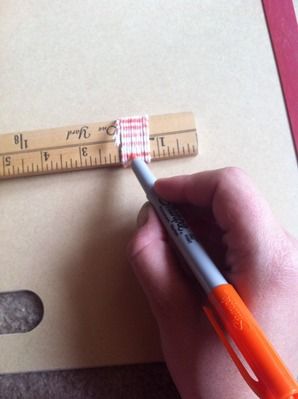
{Then start coloring in stripes across the string on both sides of ruler}
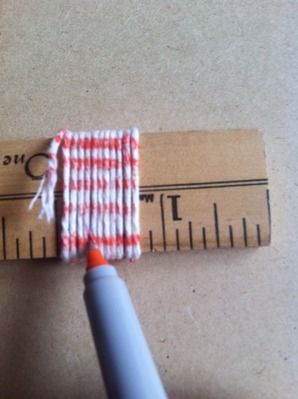
{Here is a close up}
{This is the end result. Not bad right?}
Thank you so much dear Laura for having me here today on your amazing blog. I love the words you write. You are so sweet and you inspire me quite often. To all of you lovely readers, I hope you come on over to my blog {Here} and visit. I love to make new friends.

No comments:
Post a Comment
Thank you for coming along for the ride with me. Your comments make my day!